This site requires JavaScript! Please, enable it in the browser!
Sell
Magazine
Events
About us
Log in
Open account
Login
Sign up
Magazine
Market Analysis
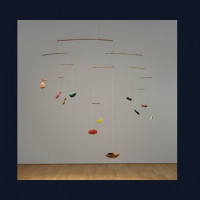
Alexander Calder market analysis. Is now a good moment to sell? (February 2026)
·
2026-02-11T15:32:48+0000
Market Analysis
Lucio Fontana market analysis. Is now a good moment to sell? (February 2026)
·
2026-02-10T19:06:51+0000
Collecting Guides
The coming wealth transfer in art—and the infrastructure it desperately needs
·
2026-02-10T13:46:23+0000
Collecting Guides
Artscapy vs Auction House Consignment: Which is the smarter way to sell Art?
·
2026-02-09T20:48:44+0000
Collecting Guides
2026: The top of the art market is melting — collecting isn’t.
·
2026-02-02T14:31:24+0000
Collecting Guides
The risk of burning an artwork or a collection
·
2026-01-30T14:34:00+0000
Collecting Guides
Sell art with confidence: A smarter way to deaccession a collection
·
2026-01-28T08:00:00+0000
Collecting Guides
The hardest moment of owning art isn’t buying — it’s selling.
·
2026-01-26T00:00:00+0000
Collecting Guides
How to consign art for sale: A complete guide to art consignment
·
2026-01-25T22:36:55+0000
Collecting Guides
AI estimates and the case for transparency in art
·
2026-01-21T16:19:02+0000
Market Analysis
Salvo market analysis. Is now a good moment to sell? (January 2026)
·
2026-01-21T11:17:49+0000
Collecting Guides
From passion to capital: Treating art as working wealth
·
2026-01-16T12:52:21+0000
Load more